
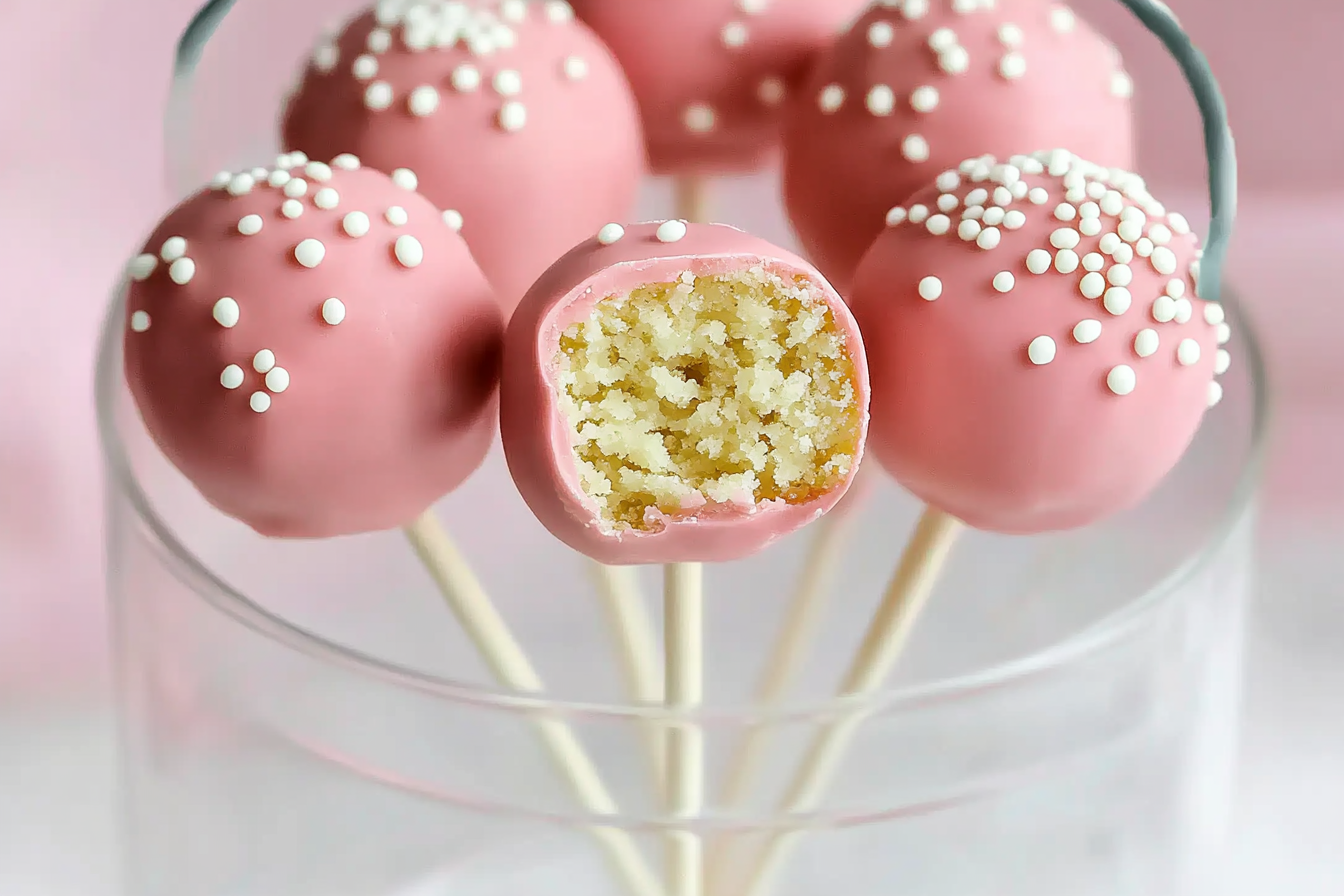
Starbucks Birthday Cake Pops are a delightful treat that embodies the spirit of celebration, joy, and indulgence. These sweet little bites, coated in vibrant pink candy and adorned with colorful nonpareils, are reminiscent of childhood birthday parties and festive gatherings. The combination of moist cake and creamy frosting creates a luscious texture that melts in your mouth, making each bite a nostalgic experience. Whether you’re celebrating a birthday, an anniversary, or simply want to add some sweetness to your day, these cake pops are perfect for any occasion. Plus, they are surprisingly easy to create at home, allowing you to enjoy this café favorite anytime you like!
Tools and Equipment
Before diving into the preparation of these delightful cake pops, it’s essential to gather all the necessary tools and equipment. Here’s what you’ll need:
- 9 X 13 inch baking dish
- Mixing bowls
- Fork
- Parchment paper
- Cookie sheet
- Microwave-safe bowl
- Spatula
- Popsicle sticks
- Styrofoam block (for drying the cake pops)
Having these items ready will streamline the process and ensure a smooth baking experience.
Ingredients List
To create these scrumptious Starbucks Birthday Cake Pops, you will need the following ingredients:
- 1 White Cake Mix (such as Betty Crocker or a similar brand)
- 1 can Vanilla Frosting
- 1 bag Wilton Pale Pink Candy Melts
- 1 teaspoon Crisco Shortening
- White Nonpareils (for decoration)
- Popsicle Sticks
Each ingredient plays a crucial role in achieving the perfect cake pop:
White Cake Mix: This serves as the base of the cake pops, providing a light and fluffy texture.
Vanilla Frosting: The frosting adds moisture and sweetness to the cake crumbs, binding them together.
Wilton Pale Pink Candy Melts: These are used for coating the cake pops, giving them a beautiful color and a sweet, chocolaty taste.
Crisco Shortening: Adding this to the melted candy helps achieve a smooth and glossy coating.
White Nonpareils: These tiny sprinkles add a festive touch, making your cake pops visually appealing.
Popsicle Sticks: Essential for holding the cake pops and making them easy to eat!
Preparation Steps
Preparation is key to crafting the perfect cake pops. Follow these steps to get ready:
- Preheat your oven to 350 degrees Fahrenheit.
- Grease your 9 X 13 inch baking dish to prevent the cake from sticking.
- Gather all your ingredients and tools to ensure a smooth workflow.
- Prepare your workspace by laying out parchment paper on the cookie sheet.
- Set up the Styrofoam block where you will place the finished cake pops to dry.
Pro Tip: Make sure the cake mix is thoroughly combined to avoid lumps.
Step-by-Step Cooking Instructions
Now, let’s get to the fun part—creating your delicious cake pops! Follow these detailed steps:
- Prepare the Cake Mix: Follow the instructions on the box to prepare the white cake mix. Pour the batter into the greased baking dish.
- Bake the Cake: Place the dish in the preheated oven and bake for about 30 minutes, or until a toothpick inserted into the center comes out clean.
- Cool the Cake: Once baked, remove the dish from the oven and let it cool on a wire rack completely.
- Crumble the Cake: After the cake has cooled, use a fork to break it into small crumbs, ensuring no large pieces remain.
- Mix with Frosting: In a large bowl, combine the cake crumbs with the vanilla frosting. Use your hands to mix until you form a gooey mound of cake mixture.
- Roll Cake Balls: Using your hands, roll the cake mixture into 1 1/2 inch balls and place them on the parchment paper.
- Melt the Candy Melts: In a microwave-safe bowl, melt half of the pale pink candy melts in 10-second intervals, stirring until smooth.
- Insert Sticks: Dip the popsicle sticks into the melted candy and then into the center of each cake ball to help hold them together.
- Chill the Cake Pops: Place the cookie sheet in the freezer for about 30 minutes to allow the sticks to set in the cake pops.
- Prepare for Dipping: After 30 minutes, melt the remaining candy melts and stir in 1/2 teaspoon of Crisco for a smooth finish.
- Dip the Cake Pops: Holding the sticks, dip each cake pop into the melted candy, ensuring it is fully coated.
- Add Sprinkles: Immediately sprinkle white nonpareils on top of the wet candy coating.
- Set to Dry: Place the dipped cake pops into the Styrofoam block and allow them to sit for about 1 hour until the candy coating hardens.
Note: Ensure that the sticks are securely inserted to prevent cake pops from falling apart.
Nutritional Information and Health Benefits
While these cake pops are certainly a treat, it’s nice to know a bit more about their nutritional profile. On average, one cake pop contains around 150 calories, depending on the size and ingredients used. They are primarily made up of carbohydrates due to the cake and frosting, with a small amount of fat from the candy melts.
Despite being a dessert, cake pops can offer some enjoyment when consumed in moderation. They are a great way to satisfy a sweet tooth without overindulging, and their bite-sized nature makes portion control easy.
Health Benefits: The joy of baking and sharing treats can enhance mental well-being, fostering connections and creating cherished memories with loved ones. Baking can also be a fun and creative outlet!
Common Mistakes and Tips to Perfect the Recipe
To ensure your cake pops turn out perfectly, be aware of these common mistakes and tips:
- Using Hard Cake Edges: Avoid incorporating hard or crispy edges into your mixture to ensure the cake pops hold together better.
- Overmixing the Cake: When crumbling the cake, be gentle. Overmixing can lead to a dense mixture.
- Not Chilling Enough: Ensure that the cake pops are adequately chilled before dipping to prevent the sticks from falling out.
- Too Thick Coating: If the candy melts are too thick, they may crack. Adjust the consistency with Crisco if needed.
Storage, Serving, and Reheating Tips
Once your cake pops are prepared, it’s essential to know how to store and serve them properly:
- Storage: Store the cake pops in the fridge in an airtight container to maintain freshness for up to a week.
- Serving: Cake pops make for an eye-catching dessert table centerpiece. Consider serving them on a decorative stand or arranging them in a mason jar for a fun presentation.
- Reheating: These treats are best enjoyed cold or at room temperature. Avoid reheating as it can compromise the texture and coating.
Serving Suggestion: Pair with a cup of coffee or hot chocolate for a delightful afternoon treat!
FAQs and Recipe Variations
Can I use a different cake flavor? Yes! Feel free to experiment with different cake mixes like chocolate or lemon for a unique twist.
Can I use different candy melts? Absolutely! You can choose any color or flavor of candy melts to match your theme or preference.
How do I make these cake pops gluten-free? Use a gluten-free cake mix and ensure all other ingredients are gluten-free.
- For a fun twist, add sprinkles to the cake mixture before rolling into balls.
- Make a chocolate version by using chocolate cake mix and chocolate frosting.
- Try incorporating flavors like almond or lemon extract for added depth.
Conclusion
Starbucks Birthday Cake Pops are not just a delightful treat; they are a celebration in every bite! With their soft cake center, creamy frosting, and vibrant candy coating, these pops are sure to bring joy to any occasion. The fun of making them at home allows you to create personalized treats that can be shared with friends and family. So gather your ingredients, roll up your sleeves, and indulge in the joy of baking!
Remember, every celebration deserves a sweet touch, and these cake pops will surely make it memorable!