
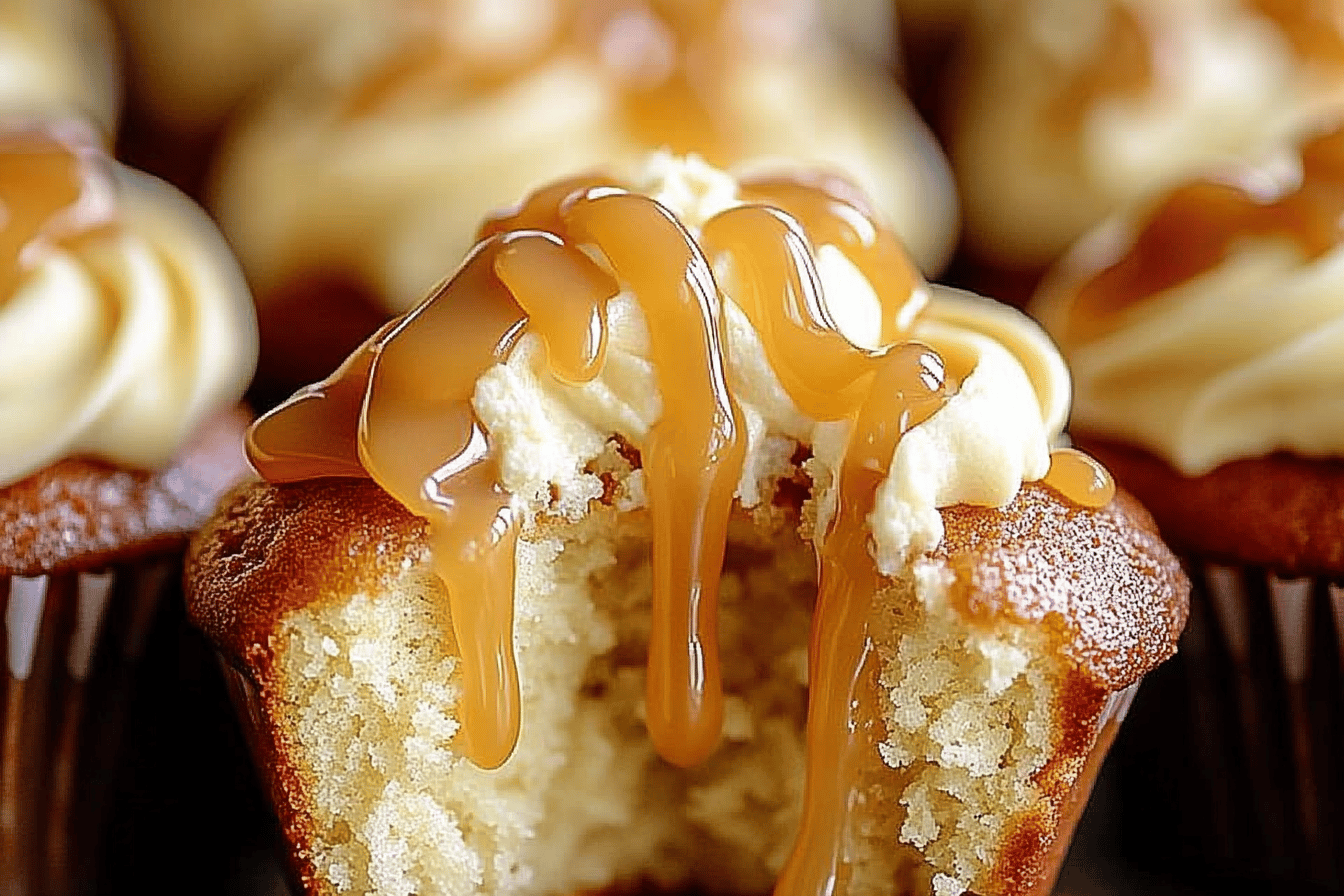
Indulging in a sweet treat can bring joy to any occasion, and these delightful salted caramel cupcakes are no exception. Combining the rich, buttery taste of vanilla cupcakes with the heavenly flavor of salted caramel, this recipe creates a dessert that is both sophisticated and comforting. Perfect for celebrations, birthdays, or simply as a sweet pick-me-up, these cupcakes are bound to impress friends and family alike. The balance of sweet and salty makes them a unique offering that stands out among typical dessert options. Whether you’re a seasoned baker or a novice in the kitchen, these salted caramel cupcakes will surely become a favorite in your recipe collection.
Tools and Equipment
Before diving into the delicious world of salted caramel cupcakes, it’s essential to gather all necessary tools and equipment. Having everything on hand will streamline your baking process and ensure a delightful experience.
- Cupcake pan
- Cupcake liners
- Mixing bowls (one large, one medium)
- Whisk
- Electric mixer or hand mixer
- Rubber spatula
- Measuring cups and spoons
- Toothpick (for testing doneness)
- Cooling rack
- Microwave or stovetop (for warming caramel sauce)
Ingredients List
Gathering the right ingredients is crucial for achieving the perfect salted caramel cupcakes. Below is the list of ingredients you’ll need:
- 1 ¾ cups all-purpose flour
- 1 ½ tsp baking powder
- ½ tsp baking soda
- ¼ tsp salt
- ¾ cup unsalted butter, softened
- 1 ½ cups sugar
- 3 large eggs
- 1 tsp vanilla extract
- 1 cup buttermilk
- 1 cup salted caramel sauce
- Sea salt for topping
Each ingredient plays a pivotal role in the overall flavor and texture of your cupcakes:
All-purpose flour serves as the base, providing structure to the cupcakes. Baking powder and baking soda are both leavening agents that help the cupcakes rise, resulting in a light and fluffy texture. The salt enhances the flavors, balancing the sweetness of the sugar and caramel.
The unsalted butter contributes moisture and richness, while the sugar sweetens the batter and aids in achieving a tender crumb. Eggs provide binding and richness, and vanilla extract adds a delightful aroma and flavor. Buttermilk not only adds moisture but also creates a tender texture due to its acidity.
Finally, the salted caramel sauce is the star ingredient, providing that irresistible sweet and salty combination, while the sea salt on top adds a finishing touch that enhances the overall flavor.
Preparation Steps
Before you start baking, it’s essential to prepare your workspace and ingredients. Follow these pre-cooking steps:
- Preheat your oven: Set your oven to 350°F (175°C) to ensure it’s hot enough for baking.
- Prepare your cupcake pan: Line your cupcake pan with cupcake liners to prevent sticking and for easy serving.
- Combine dry ingredients: In a medium bowl, whisk together the all-purpose flour, baking powder, baking soda, and salt until well combined.
- Soften your butter: Make sure your unsalted butter is softened to room temperature for easy mixing.
Step-by-Step Cooking Instructions
Now that you’re prepared, it’s time to create your salted caramel cupcakes. Follow these detailed steps:
- Beat the butter and sugar: In a large bowl, use an electric mixer to beat the softened butter and sugar together until the mixture is light and fluffy, about 3-5 minutes.
- Add eggs: Add the eggs one at a time, mixing well after each addition to ensure they are fully incorporated.
- Mix in vanilla: Stir in the vanilla extract, blending it into the batter.
- Combine wet and dry ingredients: Gradually add the dry ingredients to the butter mixture, alternating with the buttermilk. Start with a portion of the dry ingredients, mix, then add some buttermilk, and repeat until everything is combined and the batter is smooth.
- Fold in caramel: Gently fold in ½ cup of the salted caramel sauce into the batter. Be careful not to overmix; you want some swirls of caramel to remain.
- Fill cupcake liners: Using a spoon or an ice cream scoop, fill each cupcake liner about 2/3 full with batter.
- Bake: Place the cupcake pan in the preheated oven and bake for 18-20 minutes. You can check for doneness by inserting a toothpick into the center of a cupcake; it should come out clean.
- Cool: Once baked, remove the cupcakes from the oven and let them cool in the pan for about 5 minutes before transferring them to a cooling rack to cool completely.
- Frost and garnish: Once the cupcakes are completely cool, top each cupcake with the remaining salted caramel sauce and sprinkle a pinch of sea salt on top for that perfect finishing touch.
Nutritional Information and Health Benefits
While these salted caramel cupcakes are a delightful treat, it’s essential to be aware of their nutritional profile. Each cupcake contains a balance of carbohydrates, fats, and proteins. The primary ingredients contribute to the following values:
- Calories: Approximately 250-300 calories per cupcake, depending on portion sizes and frosting used.
- Fat: The unsalted butter provides healthy fats, which are essential for overall health.
- Carbohydrates: The sugar and flour contribute to the carbohydrate content, providing energy.
- Protein: Eggs offer a good source of protein, which is important for muscle repair and overall body function.
While these cupcakes are indulgent, enjoy them in moderation. They can be a part of a balanced diet when consumed occasionally. The buttermilk adds probiotics, which are beneficial for gut health, while the sea salt can help balance electrolytes in moderation.
Common Mistakes and Tips to Perfect the Recipe
Baking can sometimes be tricky, so here are some common mistakes to avoid and tips for perfecting your salted caramel cupcakes:
- Not preheating the oven: Always preheat your oven to ensure even baking.
- Overmixing the batter: Mix just until ingredients are combined to avoid dense cupcakes.
- Using cold ingredients: Make sure your butter and eggs are at room temperature for better incorporation.
- Ignoring the cooling time: Allow cupcakes to cool completely before frosting to prevent melting.
Advanced tip: For added flavor, consider adding chopped nuts or chocolate chips to the batter for a delightful twist.
Storage, Serving, and Reheating Tips
Proper storage is essential to maintain the freshness of your salted caramel cupcakes:
- Store in an airtight container at room temperature for up to 3 days.
- If you need to keep them longer, refrigerate for up to a week or freeze for up to 3 months.
- For serving, consider pairing these cupcakes with a scoop of vanilla ice cream for an extra indulgent treat.
Tip: If reheating, place in the microwave for about 10-15 seconds to warm slightly without drying them out.
FAQs and Recipe Variations
Can I use a different type of frosting?
Absolutely! While the salted caramel topping is delightful, you can use cream cheese frosting, chocolate ganache, or even a simple buttercream for a different flavor profile.
How can I make these cupcakes gluten-free?
You can substitute the all-purpose flour with a gluten-free flour blend. Just ensure the blend contains xanthan gum for better structure.
What if I don’t have buttermilk?
You can easily make a substitute by adding 1 tablespoon of vinegar or lemon juice to 1 cup of milk and letting it sit for about 5 minutes.
Recipe variations to consider:
- Add a touch of espresso powder to the batter for a mocha flavor.
- Incorporate seasonal spices like cinnamon or nutmeg for a warm, cozy twist.
- Swap the salted caramel for chocolate ganache for a chocolate lover’s dream.
Conclusion
In conclusion, these salted caramel cupcakes are a perfect blend of sweetness and sophistication, making them an ideal dessert for any occasion. With their fluffy texture, rich flavor, and the delightful contrast of sweet caramel and sea salt, they are sure to leave a lasting impression. So, gather your ingredients, follow the steps, and treat yourself and your loved ones to this delectable indulgence. Remember, baking should be fun, so don’t hesitate to experiment and make the recipe your own. Enjoy your baking adventure!