
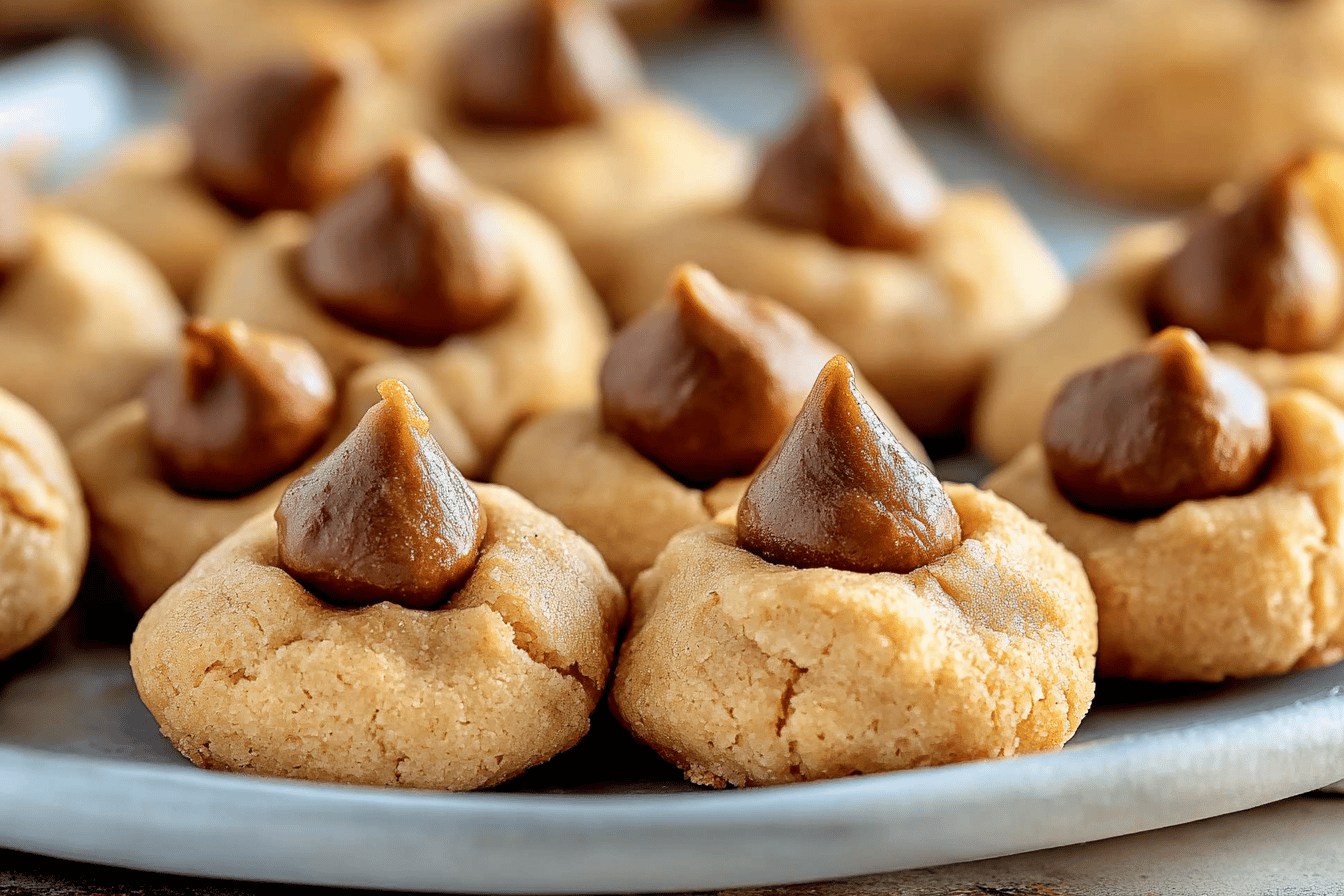
Peanut Butter Blossoms are more than just a cookie; they are a delightful blend of flavors and textures that bring back fond memories of childhood for many. This classic treat combines the creamy richness of peanut butter with the sweetness of chocolate kisses, creating a cookie that is both crunchy and melt-in-your-mouth delicious. Often found at family gatherings, holiday celebrations, and bake sales, these cookies hold a special place in the hearts of cookie lovers everywhere. The joy of biting into a soft, chewy cookie, followed by the surprise of a chocolate center, makes them a beloved choice for any occasion. Whether you’re baking for a special event or simply indulging in a sweet treat at home, Peanut Butter Blossoms are sure to bring smiles and satisfaction to all who taste them.
Tools and Equipment
To make these delightful Peanut Butter Blossoms, you’ll need a few essential tools and equipment. Ensuring you have everything ready will make the baking process smooth and enjoyable.
- Mixing bowls (medium and large)
- Hand mixer or stand mixer
- Measuring cups and spoons
- Silicone baking mats or parchment paper
- Cookie scoop or tablespoon
- Cooling rack
- Baking sheets (two large)
Ingredients List
Gathering the right ingredients is crucial to ensuring your Peanut Butter Blossoms turn out perfectly. Below is the list of ingredients you’ll need:
- 1.5 cups all-purpose flour
- 0.25 cup granulated sugar
- 0.5 teaspoon salt
- 1 tablespoon milk
- 30 to 36 Hershey’s kisses
- 0.5 cup packed light brown sugar
- 0.5 cup unsalted butter
- 0.67 cup creamy peanut butter
- 1 egg
- 1 teaspoon vanilla extract
- 0.5 cup granulated sugar (for rolling)
- 0.75 teaspoon baking soda
All-purpose flour provides the structure for the cookies, while baking soda helps them rise and become fluffy. Granulated sugar adds sweetness and aids in creating a crisp texture on the outside, while light brown sugar contributes moisture and chewiness. Unsalted butter is essential for richness, and creamy peanut butter is the star of the show, imparting its signature flavor. The egg acts as a binder, and vanilla extract enhances the overall flavor profile. Finally, the Hershey’s kisses are the delicious finishing touch!
Preparation Steps
Before you start baking, it’s important to prepare your ingredients and kitchen. Follow these preparation steps to set yourself up for success:
- In a medium bowl, whisk together the flour, baking soda, and salt. Set aside to combine these dry ingredients evenly.
- Using a hand mixer or stand mixer, beat the butter and peanut butter together until creamy, about 1 to 2 minutes. This step is crucial for achieving a well-blended cookie base.
- Add the brown sugar and 0.25 cup of granulated sugar to the mixture, and mix on medium speed until creamy and smooth, scraping down the sides of the bowl as needed.
- Once combined, add the egg and beat on high until completely incorporated.
- Stir in the vanilla extract and milk until well combined. This will help to add moisture to the dough.
- Gradually add the dry ingredients to the wet ingredients, mixing on low speed just until combined. Be careful not to over-mix!
- Cover the dough and chill it in the refrigerator for at least 1 hour. This chilling step is vital to prevent the cookies from spreading too much while baking. If you need to chill the dough for longer, let it sit at room temperature for about 15 minutes before scooping.
Step-by-Step Cooking Instructions
Once your dough is prepared and chilled, it’s time to bake! Follow these detailed cooking instructions for the best results:
- Preheat the oven to 350°F (175°C). Line two large baking sheets with silicone baking mats or parchment paper and set aside.
- Pour the remaining 0.5 cup of granulated sugar into a small bowl.
- Using a small cookie scoop or a spoon, scoop about 1 tablespoon of cookie dough and roll it into a ball using your palms. This helps ensure uniform sizing for even baking.
- Roll each dough ball in the granulated sugar until fully coated, then place them on the prepared baking sheets about 2 inches apart.
- Bake the cookies for 8 to 10 minutes or until the tops begin to show small cracks. Be cautious not to let them brown, as you want them to remain soft and chewy.
- Once baked, remove the cookies from the oven and allow them to cool on the baking sheet for about 5 minutes. This resting time helps them set.
- After 5 minutes, gently press a Hershey’s kiss into the center of each cookie. This will create the signature “blossom” effect!
- Let the cookies sit on the baking sheet for another 5 to 10 minutes before carefully transferring them to a wire rack to cool completely.
Nutritional Information and Health Benefits
While Peanut Butter Blossoms are undoubtedly a treat, they also offer some nutritional benefits thanks to their ingredients. Here’s a breakdown:
Peanut butter is a great source of protein and healthy fats, providing energy and helping to keep you full. The use of whole ingredients, such as brown sugar and butter, contributes to the overall flavor and richness of the cookies. However, it’s important to consume these cookies in moderation as they are still a sugary treat.
Key benefits include:
- Protein boost: The peanut butter provides a protein source that can help with muscle repair and overall health.
- Healthy fats: Peanut butter contains monounsaturated fats, which are beneficial for heart health.
- Energy source: The carbohydrates in the cookies provide a quick energy boost, making them a great snack.
Common Mistakes and Tips to Perfect the Recipe
Even the best bakers can run into challenges! Here are some common mistakes and tips to ensure your Peanut Butter Blossoms turn out perfectly:
- Not chilling the dough: Skipping this step can lead to cookies that spread too much. Always chill your dough.
- Overbaking: Keep a close watch on your cookies. They should not be brown; you want them soft and chewy!
- Not using room temperature ingredients: Make sure your butter and eggs are at room temperature for better mixing.
- Inconsistent sizing: Use a cookie scoop for uniform cookies that bake evenly.
Advanced Tip: For a twist on flavor, consider adding a pinch of cinnamon to the dough or trying crunchy peanut butter for a different texture.
Storage, Serving, and Reheating Tips
Once your Peanut Butter Blossoms are baked and cooled, you’ll want to store them properly to maintain their freshness:
- Storage: Store cookies in an airtight container at room temperature for up to a week. For longer storage, place them in the refrigerator for up to two weeks or freeze them for up to three months.
- Serving: These cookies are perfect for sharing at gatherings or enjoying with a glass of milk. Try arranging them on a decorative plate for a lovely presentation.
- Reheating: If you prefer warm cookies, pop them in the microwave for about 10-15 seconds to refresh their softness.
Consider pairing these cookies with a scoop of vanilla ice cream for an indulgent dessert experience!
FAQs and Recipe Variations
Here are some frequently asked questions to help you make the most of your baking experience:
Can I use crunchy peanut butter instead of creamy?
Yes! Using crunchy peanut butter will add a delightful texture to your cookies.
What if I don’t have Hershey’s kisses?
You can substitute with other chocolate candies or even chocolate chips if you prefer a different type of chocolate.
Can I make these cookies gluten-free?
Yes, you can use a gluten-free all-purpose flour blend in place of regular flour. Just ensure that all ingredients are certified gluten-free.
- Chocolate Peanut Butter Blossoms: Use chocolate peanut butter for a double chocolate treat.
- Nut-Free Option: Replace peanut butter with sunflower seed butter for a nut-free version.
- Mint Variation: Add a drop of peppermint extract for a refreshing twist.
Conclusion
Peanut Butter Blossoms are a timeless classic that brings together the comforting flavors of peanut butter and chocolate in every bite. Their soft, chewy texture paired with the sweet chocolate kiss makes them irresistible, whether enjoyed at a festive gathering or as a simple treat at home. With a bit of practice and attention to detail, anyone can master this delightful recipe. So gather your ingredients, roll up your sleeves, and let the aroma of freshly baked cookies fill your kitchen. Happy baking!