Irresistible Easy Oreo Truffles: A 3-Step Recipe You’ll Love
- Prep
- 10 min
- Total
- 40 min
- Serves
- 12
- Calories
- 120 kcal
- Carbs
- 15.00 g
On this page11 quick jumps
TOC
11 quick jumps
Introduction
Introduction to Easy Oreo Truffles
With their rich flavor and velvety texture, Oreo truffles have won the hearts of dessert lovers everywhere. These little bites of heaven require no baking, making them a go-to choice for anyone who craves something sweet without the fuss of traditional baking. I still remember the first time I made these delightful treats for a family gathering; the joy on everyone's faces as they indulged in these chocolatey morsels was priceless. From birthday parties to holiday celebrations, Oreo truffles have consistently been a crowd-pleaser, beloved by both kids and adults alike.
The beauty of this recipe lies not only in its simplicity but also in the minimal ingredients needed to achieve such a delightful treat. If you’re looking for a sweet indulgence that brings smiles to faces, you've come to the right place. This recipe for Easy Oreo Truffles will show you just how easy it is to whip up a batch that’s perfect for any occasion!
If you love simple and delicious desserts like Oreo truffles, you might also enjoy our No-Bake Eclair Cake, which is a hit at gatherings.
Ingredients You'll Need
Creating your Oreo truffles requires only a few basic ingredients. Here’s a quick guide to what you’ll need, along with some options for variations!
- Oreos – The star of the show, these cookie sandwiches bring a rich oreo flavor and texture to the truffles.
- Cream cheese – This adds creaminess and binds the Oreo crumbs together. For a lighter option, consider using Greek yogurt or vegan cream cheese.
- Chocolate (for coating) – Use vanilla almond bark for a classic touch, or get creative with dark, white, or milk chocolate for different flavor profiles.
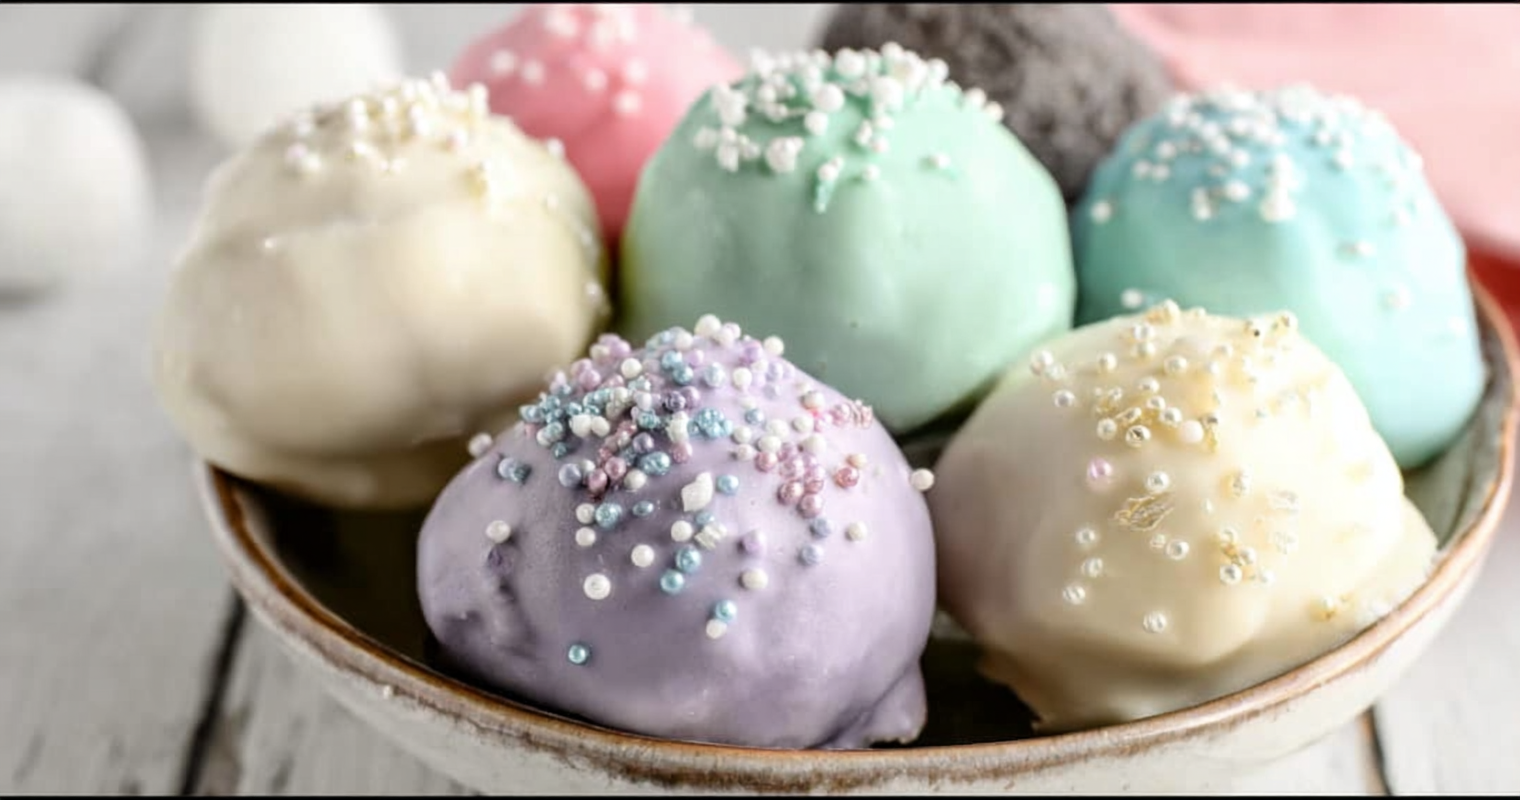
- Food coloring – Personalize your truffles for various occasions—think pastel hues for Easter or festive colors for holidays!
- Sprinkles – Finish them off with sprinkles for a fun, colorful appearance; you can choose from a variety of colors and shapes to match any occasion.
See the recipe card below for the full list of ingredients and measurements.
Step-by-Step Instructions
Now, let’s dive into the process of making these delicious Oreo truffles. Follow these simple steps and you'll have a delicious treat ready in no time!
- Process the Oreos: Start by crushing your Oreos in a food processor until they resemble fine crumbs. This step is key to getting a smooth consistency. If you don’t have a food processor, you can place the Oreos in a ziplock bag and crush them using a rolling pin.
- Mix in the cream cheese: Once your Oreos are finely crushed, add in the softened cream cheese. The easiest way to mix them is to use your hands, ensuring everything is well-blended into a dough-like mixture. This will create the rich filling of your truffles.
- Shape the mixture: Scoop out the mixture and roll it into small balls, about one inch in diameter. Place these on a baking sheet lined with parchment paper. Next, transfer the tray to the freezer and chill for around 30 minutes. This step is crucial as it helps the truffles hold their shape.
- Prepare the chocolate coating: While your truffles chill, it's time to prepare the coating. Melt the chocolate (or almond bark) in a microwave-safe bowl, heating it in 30-second intervals until melted and smooth. Be sure to stir in between to avoid burning the chocolate. If desired, stir in a few drops of food coloring to give a pop of color to your coating.
- Coat the truffles: Once the coating is melted and your truffles are chilled, remove the truffles from the freezer. Using a spoon, dip each truffle into the melted chocolate, ensuring it's completely coated. Let excess chocolate drip off, and before the chocolate hardens, sprinkle it with your choice of sprinkles. This adds a lovely touch!
- Final touches: Allow the truffles to set at room temperature or place them back in the refrigerator until the chocolate coating is firm. Store them in an airtight container until you're ready to serve.
Tips for Perfect Truffles
Making Oreo truffles is simple, but a few tips can elevate your results:
- Chill the mixture: Don’t skip the chilling step! Letting the mixture chill before shaping helps ensure they hold together nicely.
- Use quality chocolate: A good quality chocolate will enhance the flavor of your truffles significantly. Choose what you love since it influences the final taste.
- Melt chocolate gently: When melting your chocolate, do it slowly using a microwave in short bursts to prevent burning. Alternatively, use a double boiler for more temperature control.
- Troubleshooting: If your truffles are falling apart, it might be that the mixture was too warm. Simply chill the mix longer, then try forming them again.
For more no-bake inspiration, check out our Peanut Butter No-Bake Cookies, where you’ll find tips that will enhance your truffle-making skills.
Variations and Additions
One of the best things about Oreo truffles is how customizable they are. Here are some variations to consider:
- **Flavored Oreos:** Experiment with different Oreo flavors, such as mint, peanut butter, or vanilla. Each will give your truffles a unique twist.
- **Add Extracts:** Enhance the flavor by adding extracts like peppermint or vanilla into the cream cheese mixture.
- **Nut Coating:** Roll your truffles in finely chopped nuts or shredded coconut post-chocolate coating for added texture and visual appeal.
- **Drizzled Chocolate:** For a stunning appearance, drizzle melted chocolate over the set truffles as a decorative finish.
If you enjoy no-bake treats, try our No-Bake Butterscotch Cookies for a delightful twist.
Storage and Serving Suggestions
To keep your Oreo truffles fresh and delicious, proper storage is essential:
- Refrigeration: Store your truffles in an airtight container in the refrigerator. They will last up to a week, making them a perfect make-ahead treat!
- Freezing: For longer storage, freeze them in a sealed container. Thaw them in the refrigerator before serving to maintain their texture.
- Serving: Present your truffles on a decorative platter for parties, and they’ll be the centerpiece of the dessert table. They also make delightful gifts when packaged in a pretty box!
Frequently Asked Questions
Here are some common questions regarding Oreo truffles:
- Can I prepare Oreo truffles in advance? Absolutely! You can make Oreo truffles a few days in advance. Simply store them in an airtight container in the fridge until you're ready to serve them.
- What can I use instead of cream cheese? If you're looking for alternatives, you can use Greek yogurt, mascarpone cheese, or even vegan cream cheese if you want a dairy-free option.
- How long do Oreo truffles last? Oreo truffles can last up to a week in the refrigerator or about a month in the freezer if stored properly.
- Can I use different types of chocolate for coating? Yes! You can use dark, milk, or white chocolate, depending on your preference. Each type adds a unique flavor to the truffles.
- Are there gluten-free options for this recipe? Yes! You can use gluten-free Oreos to make this recipe gluten-free without sacrificing flavor.
Conclusion and Invitation to Share
In conclusion, making Easy Oreo Truffles is a fun and rewarding process that yields a sweet treat sure to impress friends and family. Their rich flavor, creamy texture, and simple preparation time make them a dessert you’ll return to time and time again.
I encourage you to try your hand at this delightful recipe and enjoy the smiles it brings. Don’t forget to share your creations on social media! I'd love to see your variations and hear your thoughts—leave a comment below and join the Oreo truffle excitement!
Ingredients
- 1package Oreos (15.25 oz)
- 8 ozcream cheese (softened)
- 6 ozvanilla almond bark
- —Food coloring of your choice
- —Sprinkles of your choice
Instructions
- 1
Process Oreos in a food processor until fine. Mix cream cheese in with the crumbs until well blended. This works best with your hands.
- 2
Form mixture into 1-inch balls and place them in a freezer-safe sealed container. Freeze the Oreo truffles for 30 minutes.
- 3
Prepare almond bark by heating it in the microwave for 30-second intervals until it is melted completely and smooth. Add food coloring if desired.
- 4
Using a spoon, cover each truffle completely. Add sprinkles before the almond bark hardens. Store in refrigerator until ready to serve.
Recipe Card
Irresistible Easy Oreo Truffles: A 3-Step Recipe You’ll Love
Keep it handy for later, send it to someone cooking with you, or open the clean print view.
- Prep
- 10 min
- Total
- 40 min
- Serves
- 12
You might also like
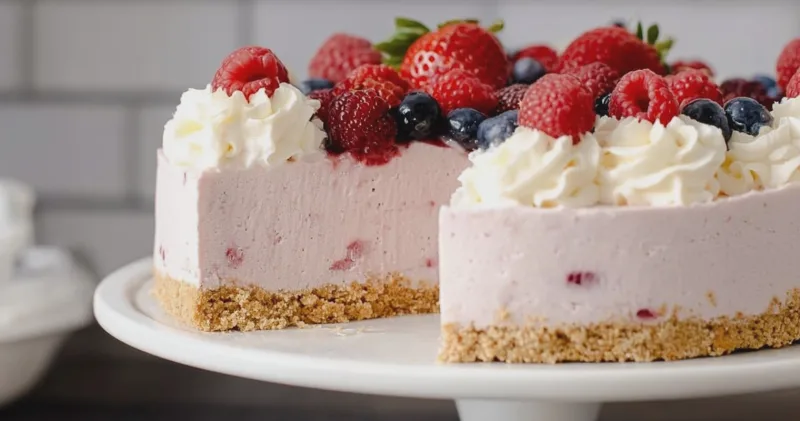
Delicious No Bake Berry Cheesecake Recipe
May 21, 2026
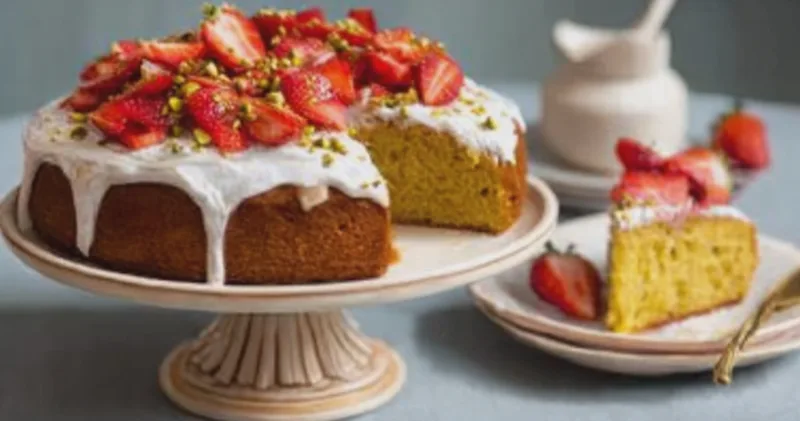
Deliciously Easy Strawberry Pistachio Olive Oil Cake Recipe
May 21, 2026
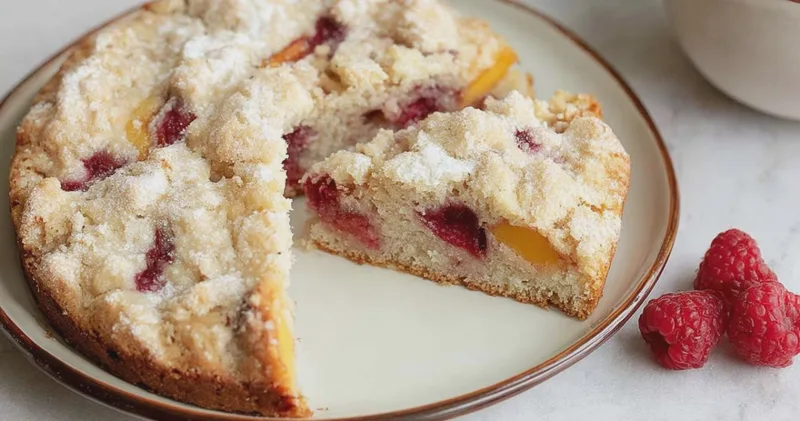
Irresistible Raspberry Peach Cake Recipe
May 21, 2026
The Ultimate Passion Fruit Cake Recipe
May 21, 2026
Reviews
Be the first to review this.