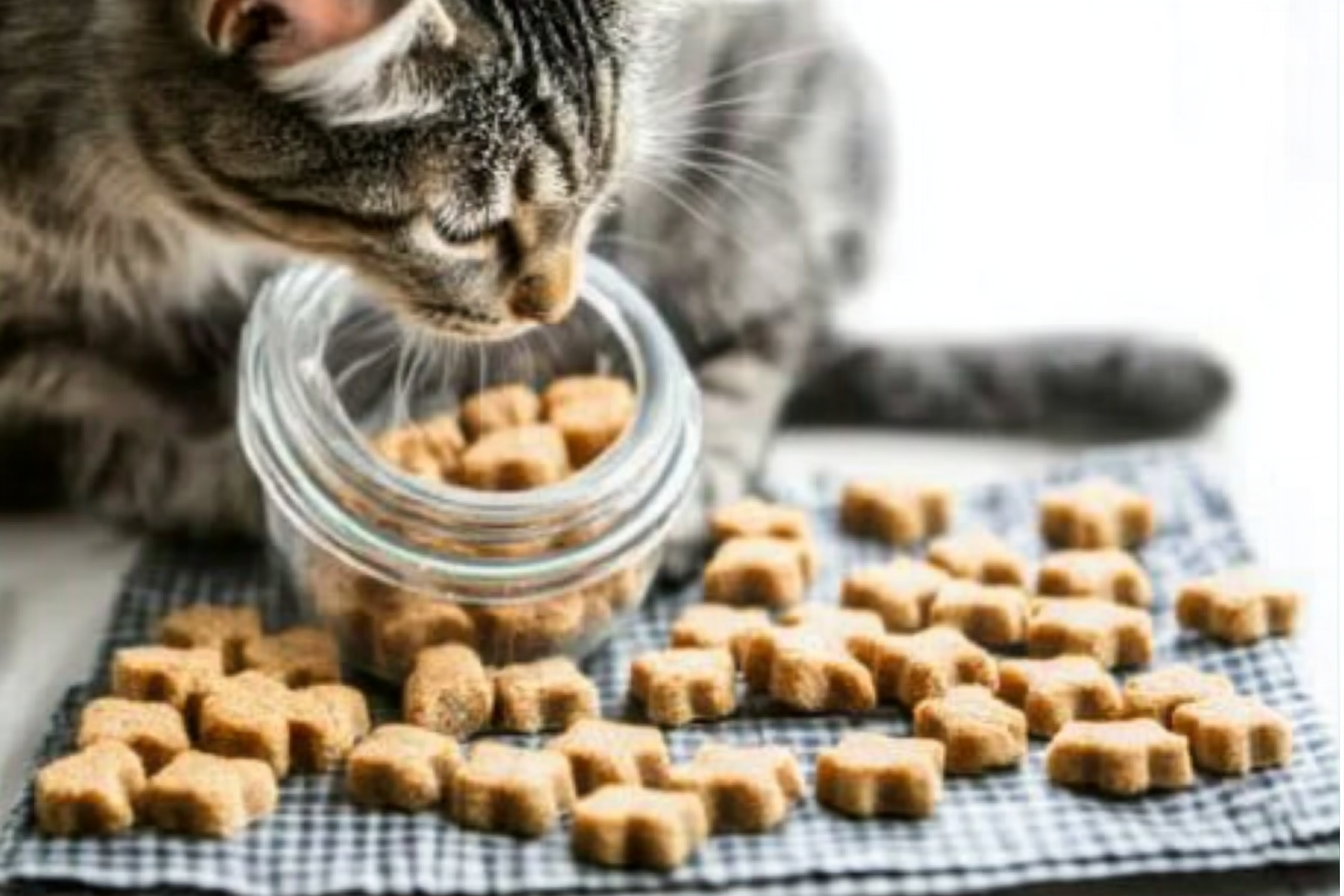
Homemade Salmon Cat Treats
These homemade salmon cat treats are a delightful and healthy snack for your furry friend.
On this page9 quick jumps
TOC
9 quick jumps
As a devoted pet owner, you understand the joy that comes from seeing your cat's eyes light up when you present them with a treat. Homemade Salmon Cat Treats are not only a delightful snack but also a healthy option for your furry friend. These treats are simple to make and packed with flavor, making them a fantastic way to bond with your pet. The use of canned salmon ensures that the treats are rich in essential fatty acids, which contribute to a shiny coat and overall well-being. Whether you’re celebrating a special occasion, rewarding your cat for good behavior, or just want to show them some love, these homemade treats are sure to be a hit!
Tools and Equipment
Before you start whipping up these tasty treats, gather the necessary tools and equipment to make the process smooth and enjoyable.
- Food processor
- Stand mixer (or mixing bowl and spoon)
- Rolling pin
- Flour for dusting
- 3/4-inch cookie cutter
- Parchment paper
- Baking sheet
- Measuring cups and spoons
Having the right tools on hand will ensure that your baking experience is efficient and fun!
Ingredients List
Here’s what you will need to create these delicious Salmon Cat Treats:
- 10 ounces canned salmon, undrained
- 1 egg, beaten
- 2 cups whole wheat flour
Canned Salmon: The star ingredient, canned salmon, provides a rich source of protein and omega-3 fatty acids, which are beneficial for your cat's coat and skin health.
Egg: This ingredient acts as a binder, helping to hold the dough together while also adding essential nutrients like protein and vitamins.
Whole Wheat Flour: A healthier alternative to all-purpose flour, whole wheat flour is full of fiber and helps create a sturdy texture for the treats.
Preparation Steps
- Preheat your oven to 350°F (175°C).
- Gather all your ingredients and tools to ensure an organized workspace.
- Open the canned salmon and drain it slightly, keeping some of the liquid for moisture.
- Pulse the salmon in the food processor until it is finely chopped.
Tip: Make sure to use high-quality canned salmon with minimal additives for the best results.
Step-by-Step Cooking Instructions
- In a stand mixer, combine the pulsed salmon, beaten egg, and whole wheat flour.
- Mix on low speed until a dough begins to form. If the dough is too dry, add water gradually until it reaches the right consistency.
- Once the dough is ready, turn it out onto a floured surface.
- Roll the dough out to about 1/4-inch thickness using a rolling pin.
- Use a 3/4-inch cookie cutter to cut out shapes from the rolled dough.
- Place the cut-out treats onto a parchment-lined baking sheet.
- Bake in the preheated oven for about 20 minutes, or until the treats are slightly browned and crunchy.
- Remove from the oven and let the treats cool completely before serving them to your feline friend.
Note: Keep an eye on the treats while baking to prevent over-baking, as they can vary in crunchiness based on your oven.
Nutritional Information and Health Benefits
These homemade salmon cat treats are not only tasty but also nutritionally beneficial for your cat. Each ingredient has its unique health benefits:
The salmon provides high-quality protein and omega-3 fatty acids, which are great for your cat’s heart health and coat condition. Whole wheat flour contributes fiber, promoting good digestion. Eggs are a fantastic source of additional protein and important vitamins.
Overall, these treats are a great way to incorporate healthy ingredients into your cat's diet, supporting their overall health and vitality.
Common Mistakes and Tips to Perfect the Recipe
- Not using enough moisture: If the dough is too dry, add water gradually until you get the right consistency.
- Overbaking: Keep an eye on the treats; they should be golden brown and crunchy, not burnt.
- Using low-quality canned fish: Opt for canned salmon or mackerel without additives for the best flavor and health benefits.
- Not cooling properly: Allow the treats to cool completely before giving them to your cat to avoid any burns.
Advanced Tip: Experiment with different shapes or sizes using various cookie cutters to keep treat time exciting!
Storage, Serving, and Reheating Tips
To keep your homemade salmon cat treats fresh, store them in an airtight container at room temperature for up to 2 weeks. For longer storage, consider keeping them in the refrigerator, where they can last up to a month.
When serving, feel free to offer a treat as a reward during playtime or training sessions. Cats love variety, so try mixing these treats with other homemade options to keep them engaged.
- Serve as a reward during training or as a treat during playtime.
- Crush a few treats and sprinkle them over your cat's regular food for added flavor.
- Consider using different fish, such as mackerel or tuna, for variety in taste.
FAQs and Recipe Variations
Can I use fresh salmon instead of canned?Yes, but you’ll need to cook the salmon first and make sure it’s properly cooled before using it in the recipe.
What if my cat doesn’t like salmon?You can substitute the canned salmon with other oily fish like mackerel or tuna, which many cats find irresistible!
How do I know if my cat likes the treats?Monitor your cat’s reaction when you first serve them. If they eat it eagerly, you’ve found a winner!
- Try adding catnip to the dough for an extra flavor boost that many cats enjoy.
- Mix in finely chopped vegetables like carrots or peas for added nutrition.
- Experiment with different types of flour, such as oat flour, for gluten-free options.
Conclusion
Homemade Salmon Cat Treats are a wonderful way to show your feline friend just how much you care. With simple ingredients and straightforward steps, you can create a healthy snack that’s both delightful and nutritious. Your cat will not only appreciate the tasty treats but will also enjoy the love and effort you put into making them. So, gather your ingredients, get baking, and enjoy the joy that comes with treating your pet to something special!
Remember, a happy cat equals a happy home!
You might also like
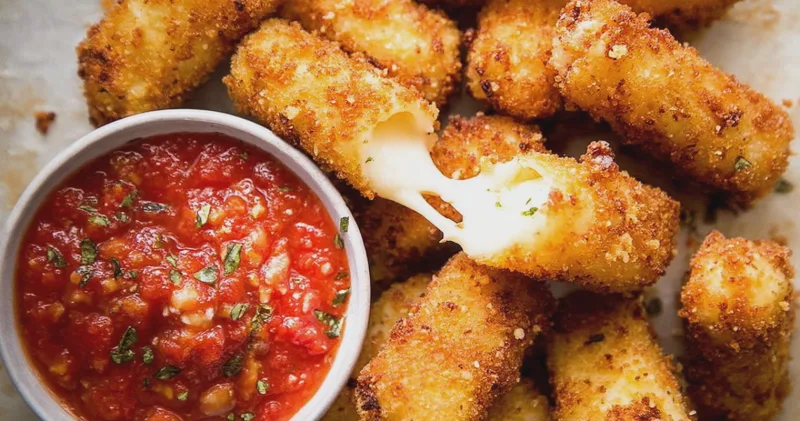
Irresistible Homemade Mozzarella Sticks You Can Make Tonight
May 19, 2026
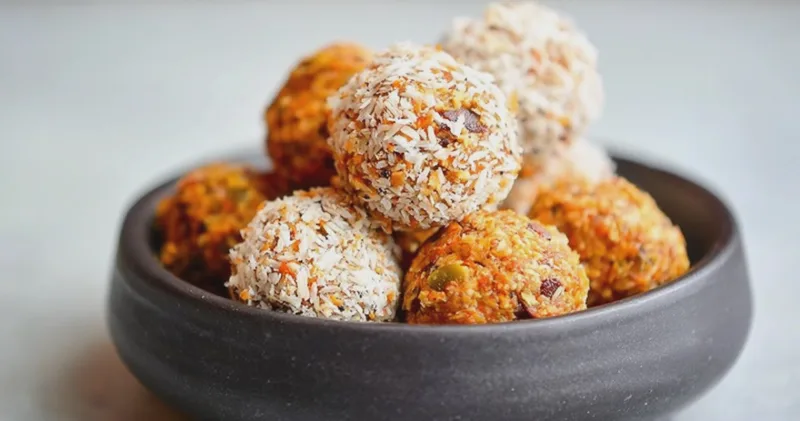
The Ultimate Healthy Carrot Cake Energy Balls Recipe
May 16, 2026

Irresistible Strawberry Crunch Protein Bites
May 14, 2026

Irresistible Cabbage Fritters Recipe
Apr 1, 2026
Reviews
Be the first to review this.