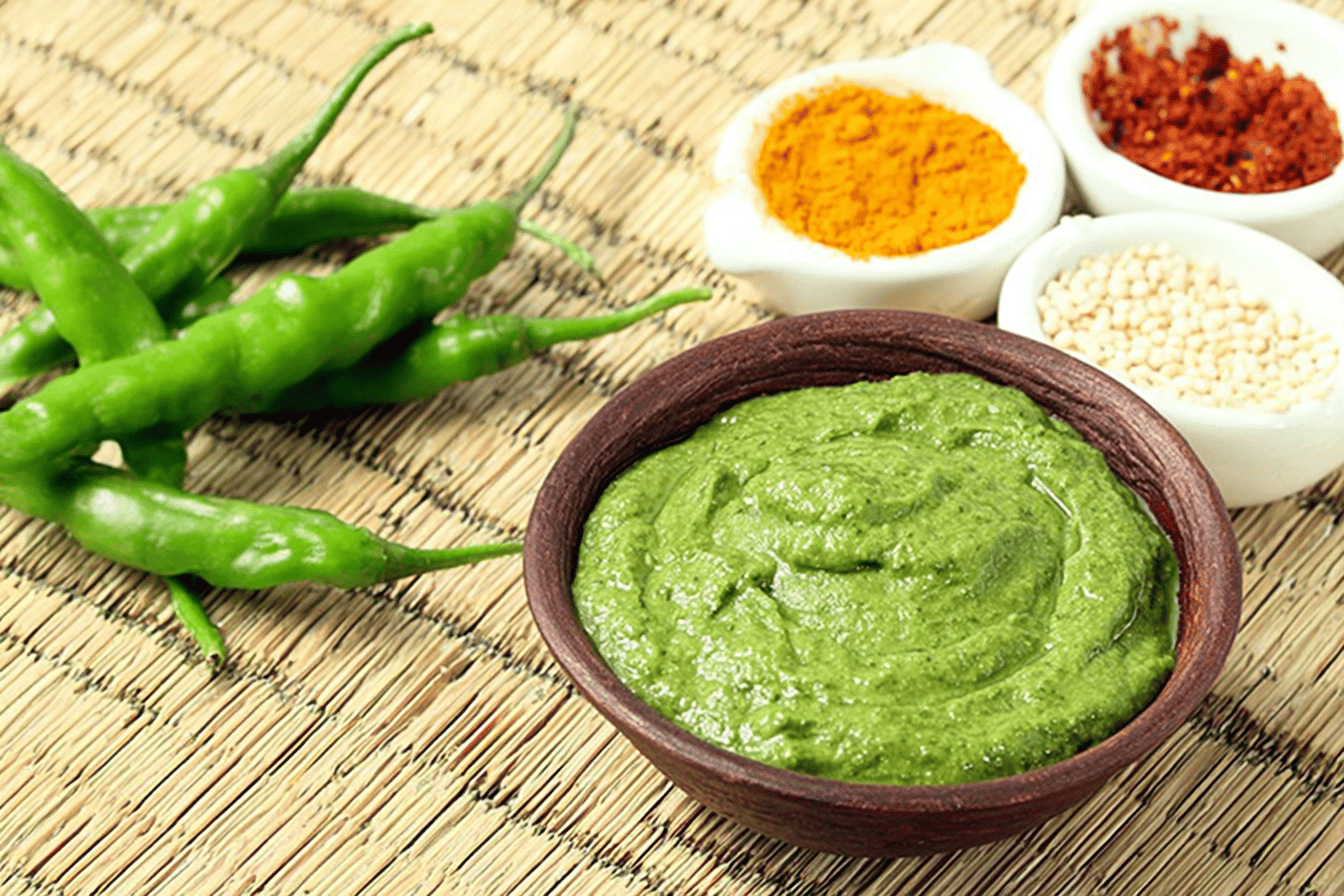
Green Chilli Chutney
A spicy and flavorful chutney that's perfect for all your meals! 🌶️🥥🌿
On this page9 quick jumps
TOC
9 quick jumps
Welcome to the vibrant world of Indian cuisine, where flavors burst with every bite and spices dance harmoniously together! One such delightful and versatile condiment that embodies the essence of Indian cooking is Green Chilli Chutney. This spicy and flavorful chutney is not just a delicious accompaniment; it symbolizes the rich culinary traditions that have been passed down through generations. Whether you’re enjoying a hearty meal or indulging in a light snack, this chutney elevates any dish with its zesty kick. It’s perfect for family gatherings, festive occasions, or even a simple weeknight dinner. Get ready to explore the aromatic spices and fresh ingredients that make this chutney a household favorite!
Tools and Equipment
Before diving into the preparation of the Green Chilli Chutney, let’s gather the necessary tools and equipment that will make the cooking process seamless.
- Frying Pan: For sautéing the ingredients.
- Mixing Bowl: To hold the chutney once prepared.
- Mixer Grinder: For grinding the chutney to the desired consistency.
- Spatula: To stir the sautéed ingredients.
- Measuring Spoons: For accurate measurement of ingredients.
- Knife and Chopping Board: For chopping the green chillies and other ingredients.
Ingredients List
Here’s what you’ll need to create this tantalizing Green Chilli Chutney:
- 10 🌶️ Green Chillies, seeded and chopped
- 2 teaspoons 💛 Chana Dal (Gram Lentils)
- 1/2 teaspoon 🥢 finely chopped Ginger
- 3-4 🍃 Curry Leaves
- 1 tablespoon 🥥 grated Dry Coconut
- 1/2 cup 🌿 chopped Coriander Leaves
- 1 teaspoon 🍬 Sugar or Jaggery
- 1 teaspoon 🍋 Lemon Juice
- 1 tablespoon 🍳 Cooking Oil
- 2 tablespoons 💧 Water
- Salt to taste
Each ingredient plays a crucial role in the overall flavor profile:
Green Chillies: The star ingredient that provides the signature heat and vibrant color.
Chana Dal: Adds texture and a nutty flavor, enhancing the chutney's richness.
Ginger: Offers a warm spice that complements the heat of the chillies.
Curry Leaves: Infuses a unique aroma and earthy flavor to the chutney.
Dry Coconut: Contributes a subtle sweetness and creaminess.
Coriander Leaves: Adds freshness and a burst of herbal notes.
Lemon Juice: Brings acidity that balances the spice, making the chutney refreshing.
Cooking Oil: Used for sautéing the ingredients to release their flavors.
Sugar or Jaggery: A touch of sweetness to enhance the overall taste.
Salt is added to taste, bringing all the flavors together.
Preparation Steps
Before we begin cooking, it’s essential to prepare the ingredients to ensure a smooth cooking process. Follow these pre-cooking tasks:
- Seed and chop the green chillies: This helps in controlling the heat level to your preference.
- Measure out the chana dal: Rinse and soak it in water for about 30 minutes if you prefer a softer texture.
- Chop the ginger finely: This will ensure it blends well into the chutney.
- Gather curry leaves: Ensure they are fresh for the best flavor.
- Grate the dry coconut: This can be done using a grater or food processor.
- Chop the coriander leaves: Make sure they are washed and dried before chopping.
Tip: Having all your ingredients prepared and ready to go will make the cooking process much easier and more enjoyable.
Step-by-Step Cooking Instructions
Now that we have everything ready, let’s dive into the cooking process!
- Heat oil: In a frying pan, heat 1 tablespoon of cooking oil over medium heat.
- Roast chana dal: Add the chana dal to the hot oil and roast it over low flame until it turns light brown, about 1-2 minutes. This enhances the nutty flavor.
- Add curry leaves and green chillies: Next, toss in the curry leaves and the chopped green chillies. Sauté for about 2 minutes until the chillies soften and release their aroma.
- Incorporate coconut and ginger: Add the grated coconut and finely chopped ginger to the pan. Sauté for another minute, allowing the flavors to meld together. Remove the pan from heat and let the mixture cool at room temperature.
- Grind the mixture: Transfer the cooled mixture into a mixer grinder. Add lemon juice, sugar, salt, and water. Grind to make a medium coarse paste.
- Add coriander leaves: Finally, add the chopped coriander leaves to the mixture and grind again to achieve a smooth paste.
- Transfer and serve: Pour the prepared chutney into a serving bowl. Your Green Chilli Chutney is now ready to be enjoyed!
Tip: Adjust the consistency of the chutney by adding more water if necessary, based on your preference.
Nutritional Information and Health Benefits
This Green Chilli Chutney is not only delicious but also packed with essential nutrients:
- Green Chillies: Rich in vitamins C and A, they help boost immunity and improve digestion.
- Chana Dal: A great source of protein and dietary fiber, promoting healthy digestion and sustained energy levels.
- Coriander Leaves: Known for their antioxidant properties, they help in detoxification and support heart health.
- Ginger: A natural anti-inflammatory that aids digestion and boosts the immune system.
- Dry Coconut: Contains healthy fats that are beneficial for heart health and provide energy.
Incorporating this chutney into your meals can enhance flavor while also delivering a variety of health benefits!
Common Mistakes and Tips to Perfect the Recipe
As you prepare your Green Chilli Chutney, keep these common mistakes and tips in mind to enhance your cooking experience:
- Overcooking the chana dal: Ensure you roast it lightly to retain its crunch and flavor.
- Using too many seeds in the chillies: Removing the seeds helps reduce the heat level. Adjust according to your spice tolerance.
- Skipping the cooling step: Letting the mixture cool before grinding prevents the chutney from becoming too watery.
- Not adjusting for taste: Always taste your chutney before serving and adjust salt, sugar, or lemon juice as needed.
Advanced Tip: For a smoky flavor, you can roast the green chillies over an open flame before chopping them!
Storage, Serving, and Reheating Tips
Now that you’ve made your delicious Green Chilli Chutney, here’s how to store and serve it:
- Storage: Store the chutney in an airtight container in the refrigerator for up to 4-5 days.
- Serving Suggestions: This chutney pairs wonderfully with various dishes such as:
- Rice and dal
- Parathas or chapatis
- As a dip for snacks like samosas or pakoras
- Spread on sandwiches or wraps
- Reheating: If using it as a dip, it can be served cold directly from the fridge. If you prefer it warm, gently heat it in a pan for a couple of minutes.
Experiment with different dishes to discover new flavor combinations!
FAQs and Recipe Variations
Here are some frequently asked questions about this recipe, along with exciting variations:
- Can I make the chutney less spicy? Yes! Reduce the number of green chillies or use milder varieties.
- Can I use fresh coconut instead of dry coconut? Absolutely! Fresh coconut will give a creamier texture, but it may need to be stored differently.
- Is there a vegan option for this chutney? Yes, all the ingredients used are naturally vegan!
Recipe Variations:
- For a tangier version, add tamarind paste.
- Incorporate roasted peanuts for additional crunch.
- Mix in some mint leaves for a refreshing twist.
Conclusion
In conclusion, the Green Chilli Chutney is more than just a condiment; it’s a celebration of flavors and a testament to the rich heritage of Indian cuisine. With its spicy kick and aromatic ingredients, it’s sure to become a staple in your home. Embrace the joy of cooking and the delight of sharing meals with loved ones. Remember, every dish tells a story, and with this chutney, you’re sharing a piece of culinary tradition. So, roll up your sleeves, gather your ingredients, and let’s bring the spice of life to your table!
You might also like
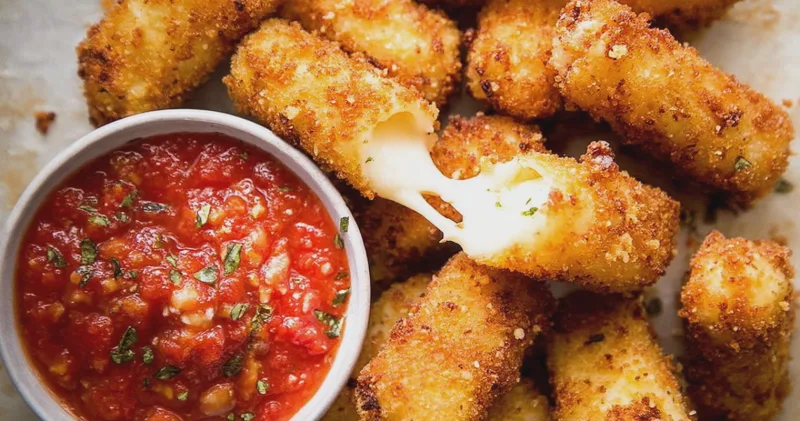
Irresistible Homemade Mozzarella Sticks You Can Make Tonight
May 19, 2026
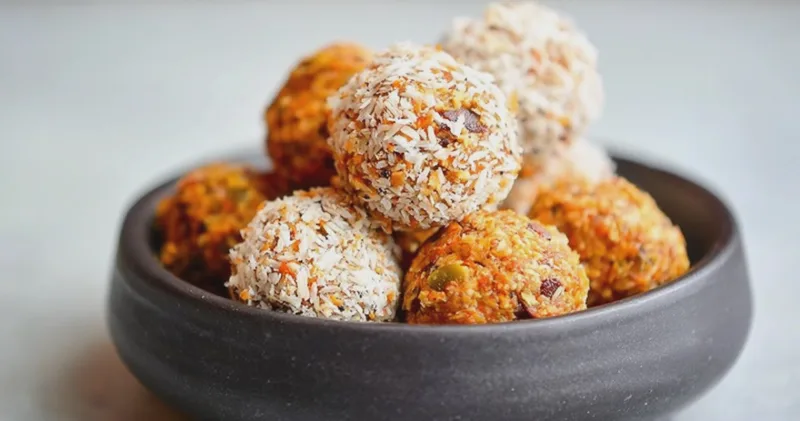
The Ultimate Healthy Carrot Cake Energy Balls Recipe
May 16, 2026

Irresistible Strawberry Crunch Protein Bites
May 14, 2026
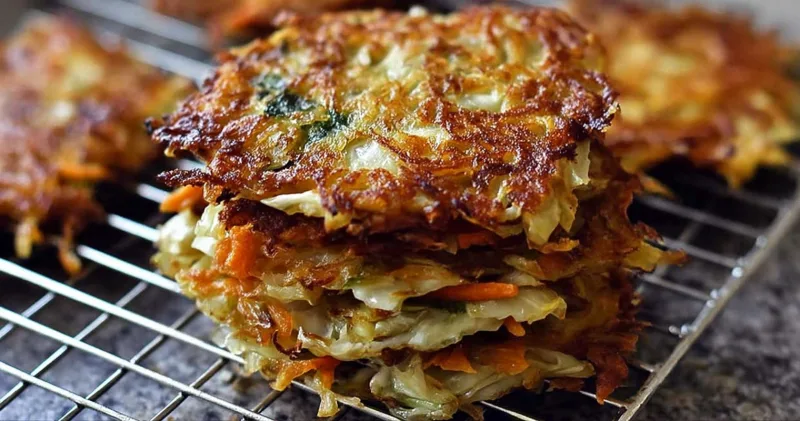
Irresistible Cabbage Fritters Recipe
Apr 1, 2026
Reviews
Be the first to review this.