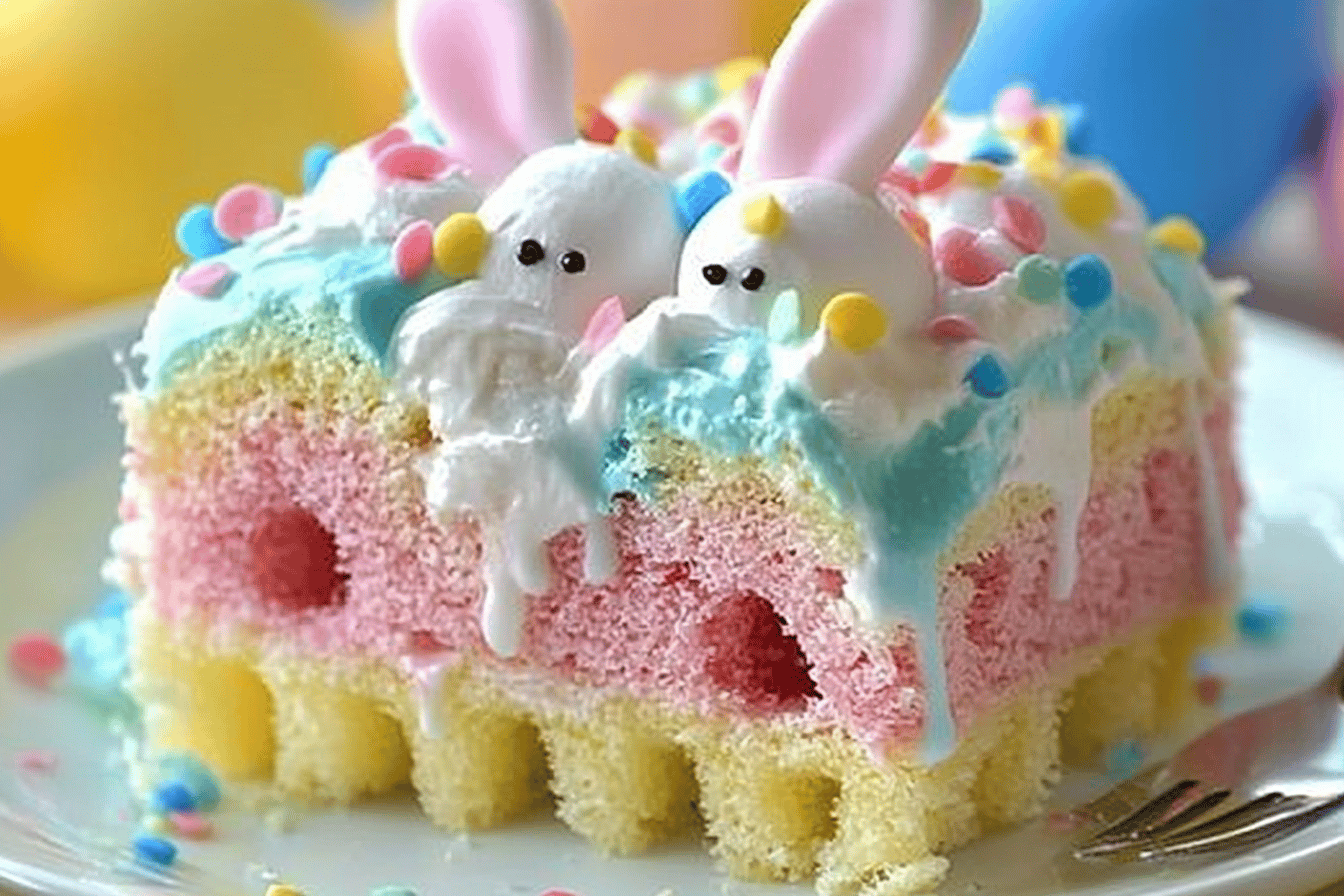
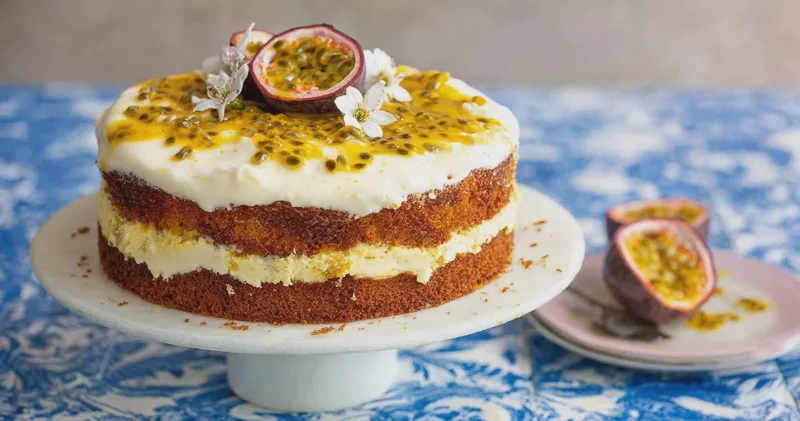
Easter Bunny Poke Cake
This adorable Easter Bunny Poke Cake is a festive delight that everyone will enjoy! 🐰🥕🎉
On this page9 quick jumps
TOC
9 quick jumps
The Easter Bunny Poke Cake is a delightful dessert that brings joy and sweetness to any Easter celebration. This festive cake not only looks charming with its bunny-themed decorations but also offers a rich and creamy flavor profile that tantalizes the taste buds. The tradition of poke cakes dates back to the 1970s, where holes are poked into a baked cake to allow various toppings, such as sweetened condensed milk, to soak in, creating an incredibly moist and flavorful dessert. With its cute presentation and delicious taste, this cake is perfect for family gatherings, potlucks, or Easter brunches. Each slice promises to spread cheer, much like the Easter Bunny itself!
Tools and Equipment
Before diving into this scrumptious recipe, it’s essential to gather the right tools and equipment. Having everything on hand will make the process smoother and more enjoyable.
- 9x13 inch cake pan
- Mixing bowl
- Whisk or electric mixer
- Fork (for poking holes)
- Spatula (for spreading toppings)
- Measuring cups and spoons
- Refrigerator (for chilling)
Ingredients List
Here’s what you’ll need to create this delightful Easter Bunny Poke Cake:
- 1 box vanilla cake mix
- 1 cup milk
- 3 large eggs
- 1 can sweetened condensed milk
- 1 cup whipped topping
- 1 cup chocolate syrup
- 1 cup shredded coconut
- Green food coloring, as needed
Each ingredient plays a crucial role in the cake:
Vanilla cake mix: This serves as the foundation of your cake, providing the base flavor and texture.
Milk: Adds moisture to the cake, ensuring it remains fluffy and tender.
Eggs: Essential for binding the ingredients together and providing structure to the cake.
Sweetened condensed milk: This rich addition seeps into the cake, creating a moist and sweet interior that everyone will love.
Whipped topping: Used as a light and airy frosting, it balances the richness of the cake and adds a creamy texture.
Chocolate syrup: Drizzled on top for a chocolaty touch that complements the sweetness of the cake.
Shredded coconut: Adds a fun texture and a hint of tropical flavor, enhancing the cake's visual appeal.
Green food coloring: Used to create a vibrant grass effect, making the cake even more festive and visually appealing.
Preparation Steps
Now that you have everything ready, it’s time to prepare for baking!
- Preheat your oven to 350°F (175°C) and grease a 9x13 inch cake pan.
- In a large bowl, combine the cake mix, milk, and eggs. Mix until well combined.
- Pour the batter into the prepared cake pan and bake for 30-35 minutes, or until a toothpick comes out clean.
- Once baked, remove the cake from the oven and let it cool slightly.
- Poke holes all over the cake using a fork and drizzle sweetened condensed milk evenly over the top.
- Allow the cake to chill in the refrigerator for a few hours.
- Once chilled, top the cake with whipped topping, chocolate syrup, coconut, and use food coloring for grass details.
Tip: Make sure to poke enough holes in the cake to allow the sweetened condensed milk to soak through, ensuring every bite is deliciously moist!
Step-by-Step Cooking Instructions
- Preheat your oven to 350°F (175°C) and grease your cake pan thoroughly to prevent sticking.
- In your mixing bowl, combine the vanilla cake mix, milk, and eggs. Use a whisk or electric mixer to blend until you achieve a smooth batter.
- Carefully pour the batter into your greased cake pan, spreading it evenly.
- Bake in the preheated oven for about 30-35 minutes. To check for doneness, insert a toothpick in the center; it should come out clean.
- After baking, remove the cake from the oven and let it cool for about 10-15 minutes, just enough to handle it.
- Using a fork, poke holes all over the top of the cake. Be generous with the holes to allow the condensed milk to soak in properly.
- Drizzle the sweetened condensed milk over the poked holes, distributing it evenly across the surface.
- Cover the cake with plastic wrap and refrigerate for at least 2 hours, allowing the flavors to meld and the cake to chill.
- After chilling, spread the whipped topping evenly over the cake, creating a smooth layer.
- Drizzle chocolate syrup over the whipped topping in a decorative pattern.
- Sprinkle shredded coconut over the top to resemble fluffy bunny fur.
- Add a few drops of green food coloring to shredded coconut, mixing thoroughly to create a grass effect. Scatter this over the cake for a festive touch.
Pro Tip: For an extra touch, consider adding mini candy eggs on top to create a bunny's nest effect!
Nutritional Information and Health Benefits
The Easter Bunny Poke Cake, while a treat, can also be enjoyed in moderation as part of a balanced diet. Here’s a brief overview of its nutritional aspects:
This cake is rich in carbohydrates, making it a source of quick energy thanks to the sugars from the cake mix and sweetened condensed milk. The whipped topping adds a creamy texture, while the coconut contributes fiber.
Health benefits:
- Whole Ingredients: Using whole ingredients like eggs and milk adds protein and calcium.
- Customizable: You can alter the ingredients, such as using a sugar-free cake mix or coconut, to make it healthier.
Common Mistakes and Tips to Perfect the Recipe
To ensure your Easter Bunny Poke Cake turns out perfectly, here are some common pitfalls to avoid:
- Avoid overmixing the batter, as this can lead to a dense cake.
- Make sure to let the cake cool sufficiently before poking holes and adding the condensed milk.
- Be generous with the holes; if they are too few, the cake won't soak in enough of the sweetened condensed milk.
- Chilling the cake for at least a few hours is essential for the best flavor and texture.
Advanced Tip: Experiment with different flavors of cake mix, like lemon or chocolate, for a unique twist on this classic dessert!
Storage, Serving, and Reheating Tips
This cake can be stored in the refrigerator for optimal freshness. Here’s how to manage it:
- Storage: Cover the cake with plastic wrap or store it in an airtight container in the refrigerator. It will stay fresh for about 3-4 days.
- Serving: Serve the cake chilled for a refreshing treat, especially during warm weather.
- Reheating: While the cake is best served cold, if you prefer it warm, you can microwave individual slices for about 10-15 seconds.
Serve with a scoop of vanilla ice cream or a dollop of extra whipped topping for an extra indulgent treat!
FAQs and Recipe Variations
Can I use a different cake flavor?
Absolutely! Feel free to experiment with different cake flavors like chocolate, lemon, or even red velvet for a unique twist on the classic recipe.
How can I make this cake gluten-free?
To make a gluten-free version, use a gluten-free vanilla cake mix and ensure all other ingredients are gluten-free as well.
Can I freeze this cake?
Yes, you can freeze the cake without the toppings. Wrap it tightly in plastic wrap and store it in an airtight container for up to 2 months. Thaw it in the refrigerator before adding the toppings.
What are some fun variations for toppings?
- Use pastel-colored M&M's or jelly beans for a colorful topping.
- Try different flavored syrups, such as caramel or strawberry, instead of chocolate.
- Add fresh fruit like strawberries or blueberries on top for a fresh twist.
Conclusion
The Easter Bunny Poke Cake is not just a dessert; it's a celebration of flavors, colors, and joy that embodies the spirit of Easter. With its charming presentation and delightful taste, it’s sure to become a family favorite for years to come. So gather your loved ones, whip up this delightful cake, and create lasting memories around the table. Happy baking, and enjoy every sweet moment!
You might also like
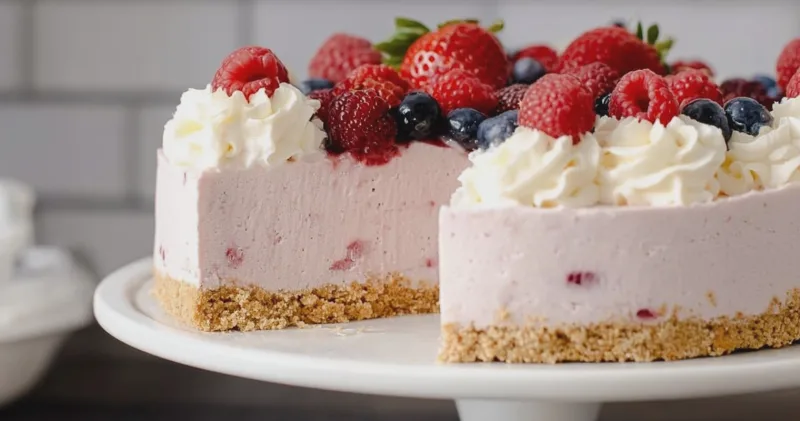
Delicious No Bake Berry Cheesecake Recipe
May 21, 2026
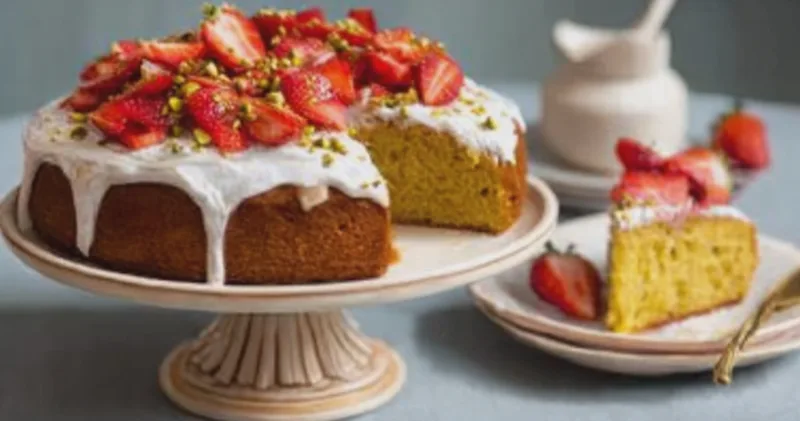
Deliciously Easy Strawberry Pistachio Olive Oil Cake Recipe
May 21, 2026
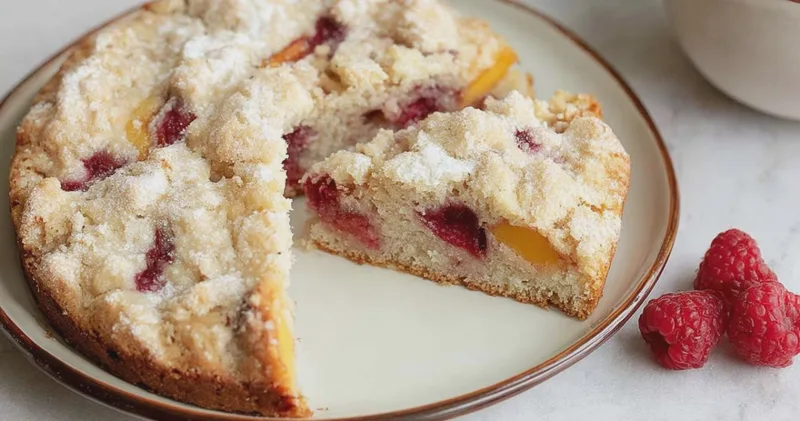
Irresistible Raspberry Peach Cake Recipe
May 21, 2026
The Ultimate Passion Fruit Cake Recipe
May 21, 2026
Reviews
Be the first to review this.