
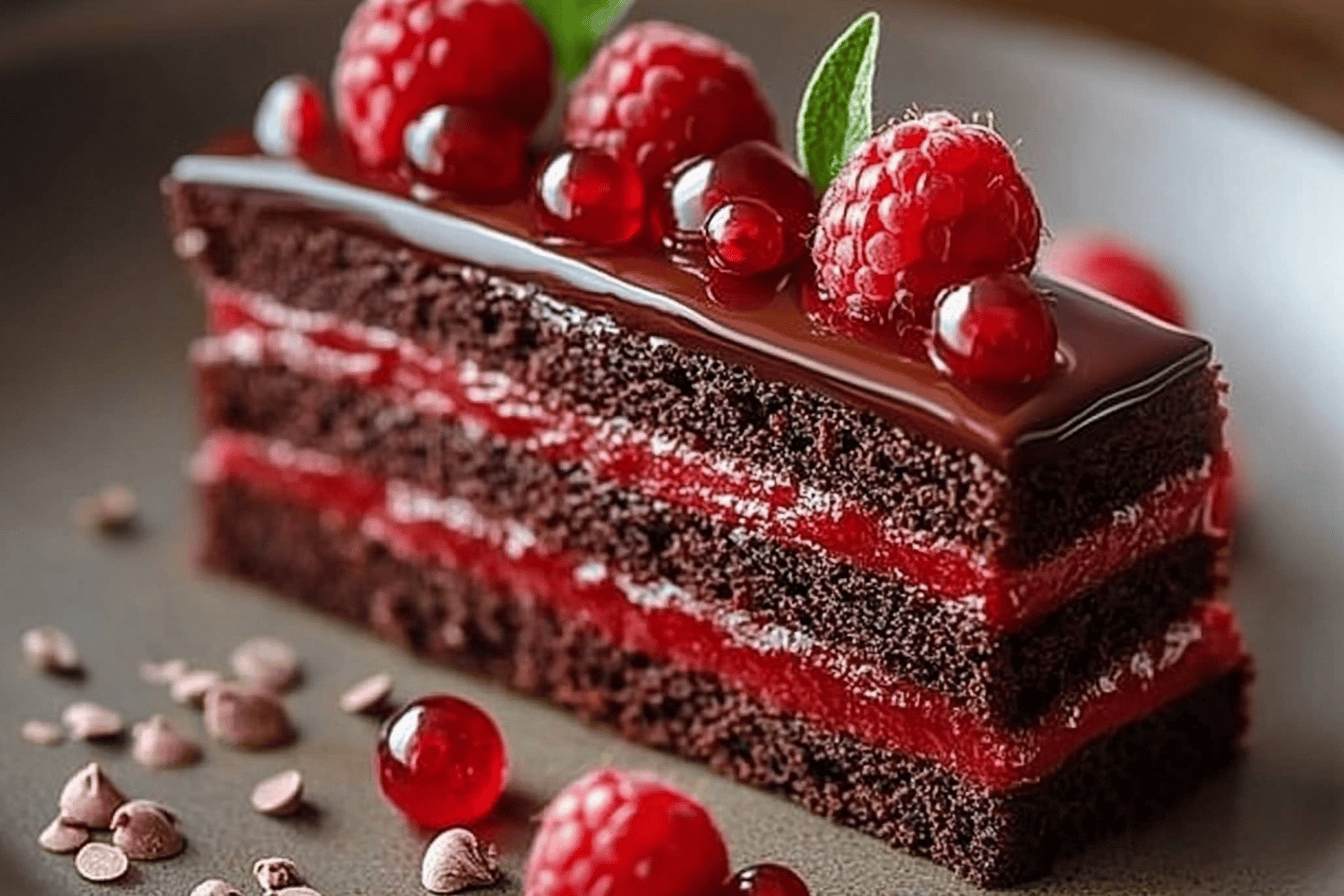
Indulging in the rich, decadent flavors of a chocolate raspberry truffle cake is an experience that transcends ordinary dessert. This exquisite cake combines the deep, luscious taste of chocolate with the bright, tart notes of fresh raspberries, creating a harmonious balance that is both luxurious and satisfying. The chocolate raspberry truffle cake is not just a dessert; it’s a celebration of life’s sweetest moments, perfect for birthdays, anniversaries, or any occasion that calls for a touch of elegance. With each bite, you’ll find layers of moist chocolate cake, velvety ganache, and a vibrant raspberry filling, making it a truly special treat to share with loved ones. Whether served at a festive gathering or enjoyed as a personal indulgence, this cake is sure to impress and delight.
Tools and Equipment
Before you embark on your baking adventure, it’s essential to gather the right tools and equipment. Having everything ready will make the process smoother and more enjoyable. Here’s what you’ll need:
- Three 7-inch round cake pans
- Mixing bowls
- Electric mixer or whisk
- Sifter
- Rubber spatula
- Measuring cups and spoons
- Paring knife or spatula for spreading
- Cooling rack
- Double boiler or microwave-safe bowl
- Parchment paper
Ingredients List
Gathering fresh and high-quality ingredients is crucial for the best results. Below is the list of ingredients required for the chocolate raspberry truffle cake, along with the role each plays in the recipe:
- 1 1/2 cups all-purpose flour
- 1/2 cup cocoa powder
- 1 tsp baking soda
- 1/2 tsp salt
- 1/2 cup unsalted butter, softened
- 1 cup sugar
- 2 eggs
- 1 cup buttermilk
- 1 tsp vanilla extract
- 1 1/2 cups fresh raspberries
- 1/4 cup sugar (for raspberry filling)
- 1 tbsp lemon juice
- 1 1/2 cups dark chocolate chips
- 3/4 cup heavy cream
- 2 tbsp butter (for ganache)
All-purpose flour provides the structural base for the cake, while cocoa powder adds rich chocolate flavor. The baking soda acts as a leavening agent, ensuring a light and fluffy cake. Salt enhances the overall flavor, and unsalted butter contributes to the cake’s moistness. Sugar adds sweetness and helps achieve a tender crumb. Eggs bind the ingredients together and add richness, while buttermilk provides acidity for tenderness. Vanilla extract adds warmth and depth of flavor. Fresh raspberries bring a tart contrast to the chocolate, complemented by lemon juice which brightens the filling. The dark chocolate chips and heavy cream combine to create a luxurious ganache that envelops the cake in a glossy finish.
Preparation Steps
Preparation is key to achieving the perfect chocolate raspberry truffle cake. Follow these steps to ensure everything is ready before baking:
- Preheat the oven: Set your oven to 350°F (175°C) and grease and line three 7-inch cake pans with parchment paper. This will prevent the cake from sticking.
- Prepare dry ingredients: In a mixing bowl, sift together the all-purpose flour, cocoa powder, baking soda, and salt. This step is essential as it aerates the flour and eliminates lumps.
- Mix wet ingredients: In another bowl, beat the softened butter and sugar together until light and fluffy. Then, add the eggs one at a time, mixing well after each addition. Incorporate the buttermilk and vanilla extract into the mixture.
- Combine mixtures: Gradually add the dry ingredients to the wet mixture, stirring gently until just combined. Be careful not to overmix; you want the batter to remain light.
Tip: Using room temperature ingredients helps create a smoother batter and results in a more even bake.
Step-by-Step Cooking Instructions
Now that your ingredients are prepared, it’s time to bring the cake to life. Follow these detailed steps:
- Divide the batter: Evenly distribute the batter among the three prepared cake pans. Use a spatula to smooth the top of each layer.
- Bake the layers: Place the pans in the preheated oven and bake for 30-35 minutes, or until a toothpick inserted into the center comes out clean. Keep an eye on them during the last few minutes.
- Cool the cakes: Once baked, remove the pans from the oven and let them cool in the pans for 10 minutes. Then, transfer the cakes to a cooling rack to cool completely.
- Prepare the raspberry filling: In a saucepan, combine the fresh raspberries, 1/4 cup sugar, and lemon juice. Simmer over medium heat until the mixture thickens, about 10-15 minutes. Allow it to cool before using.
- Make the ganache: In a separate bowl, heat the heavy cream until it just begins to bubble. Pour it over the dark chocolate chips and let it sit for a minute. Stir until smooth, then mix in the butter until fully incorporated.
Important: Make sure the ganache is at room temperature before pouring it over the cake for a smooth finish.
Nutritional Information and Health Benefits
This chocolate raspberry truffle cake is not only a delight for your taste buds but also offers some nutritional benefits. While it is a dessert meant for indulgence, here are some points to consider:
- Dark chocolate: Contains antioxidants and may improve heart health.
- Raspberries: Are high in dietary fiber, vitamins C and K, and provide a low-calorie option to satisfy your sweet tooth.
- Buttermilk: Adds moisture and contains probiotics, which can be beneficial for gut health.
While this cake is rich in flavor, moderation is key, especially when enjoying sweet treats.
Common Mistakes and Tips to Perfect the Recipe
Even the most seasoned bakers can make mistakes. Here are some common pitfalls and tips to ensure your chocolate raspberry truffle cake turns out perfectly:
- Not using room temperature ingredients can lead to a dense cake. Make sure butter, eggs, and buttermilk are at room temperature.
- Overmixing the batter can result in a tough texture. Mix just until the ingredients are combined.
- Skipping the cooling step can cause the layers to crumble. Allow the cakes to cool completely before assembling.
- For a more intense chocolate flavor, consider using high-quality dark chocolate for the ganache.
Advanced Tip: For a more complex flavor profile, add a splash of raspberry liqueur to the ganache or raspberry filling for an adult twist.
Storage, Serving, and Reheating Tips
After all your hard work, it’s essential to store the cake properly to maintain its freshness. Here are some tips:
- Storage: Keep the chocolate raspberry truffle cake covered in an airtight container in the refrigerator. It will stay fresh for up to 5 days.
- Freezing: If you want to make the cake in advance, wrap the individual layers tightly in plastic wrap and then in aluminum foil. Freeze for up to 3 months.
- Serving: Allow the cake to come to room temperature before serving for the best flavor and texture. Garnish with extra raspberries or a dusting of cocoa powder for an elegant touch.
Interesting Idea: Serve with a dollop of whipped cream or a scoop of vanilla ice cream for an extra indulgent experience!
FAQs and Recipe Variations
Can I use frozen raspberries instead of fresh?
Yes, you can use frozen raspberries. Just be sure to thaw them and drain excess liquid before using them in the filling.
How can I make this cake gluten-free?
Substitute all-purpose flour with a gluten-free flour blend that measures 1:1 for best results.
Can I make this cake ahead of time?
Absolutely! You can bake the cake layers and store them in the refrigerator for up to 3 days or freeze them for later use.
Recipe Variations:
- Replace dark chocolate with white chocolate for a different flavor profile.
- Add a layer of chocolate mousse between the cake layers for extra richness.
- Incorporate nuts, such as chopped hazelnuts or almonds, for added texture.
Conclusion
The chocolate raspberry truffle cake is a stunning dessert that captures the essence of celebration through its rich flavors and beautiful presentation. Whether you’re baking for a special occasion or simply treating yourself, this cake is sure to impress. Remember, the key to a perfect dessert lies in the quality of your ingredients and the love you put into making it. So gather your supplies, follow the steps, and enjoy the fruits of your labor. Your taste buds will thank you!